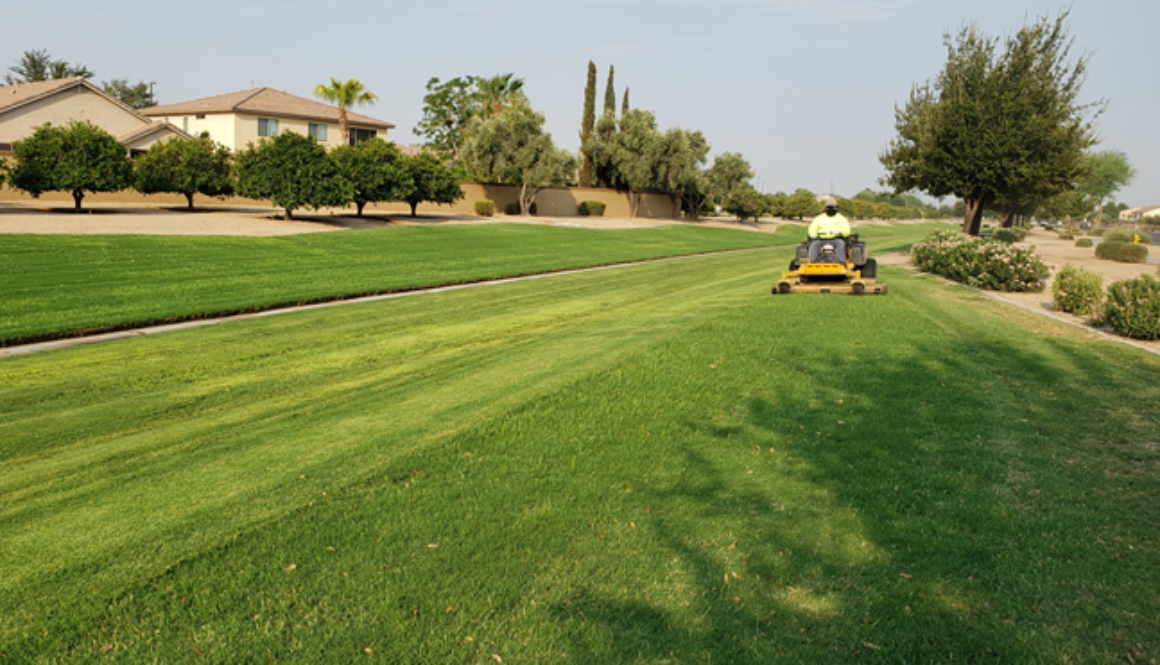
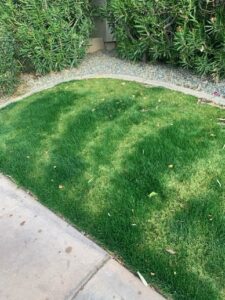
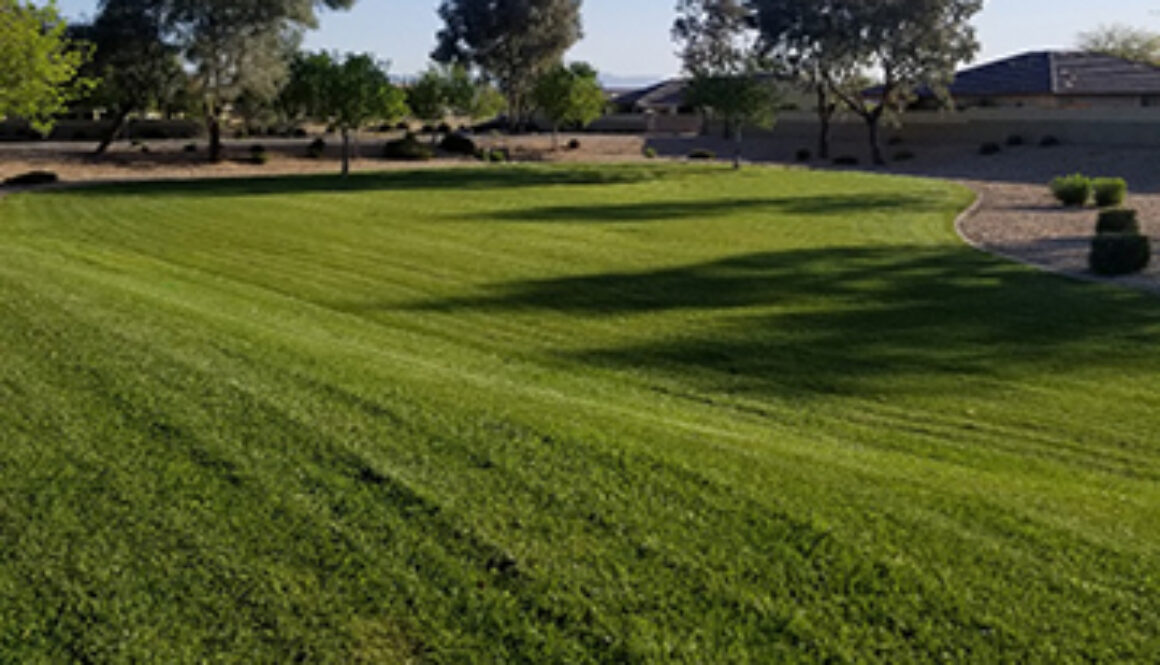
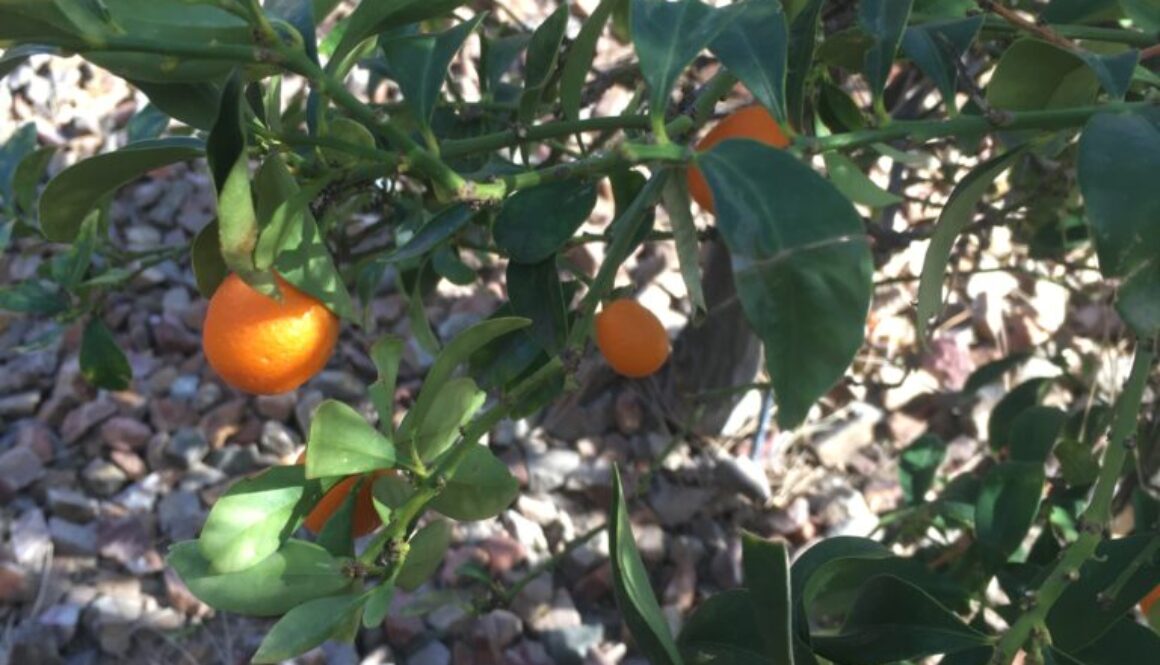
As the summer grass fades and we wait for the winter grass to grow in, you may notice our maintenance crews sprinkling grass clippings from our mowers across the grass. Some mowers are even made to spit out grass clippings. Why do we do this? In short, grass clippings are a great mulch that provides the next batch of grass with good nutrients to give it a head start!
When mowers cut lawns, the blades of grass cut off contain lots of nutrients. This is great for the existing grass and for the seedlings of future grass. The reason for this? Grass cuttings are a perfect fertilizer for grass, since they are made of… well, grass! If the lawn was healthy, chances are that using its own lawn clippings as fertilizer will make for a healthy next batch of grass.
The only thing to really look out for is the quantity of grass. While small, well-spread clumps or a thin even coating are great for fomenting future grass growth, if there’s a spot covered with way too much of the lawn clippings, then that may inhibit the development of seedlings or new grass.
Overall, there’s no need for concern when you see lawn clippings gradually decomposing over the existing lawn. It’s there to help the grass of the future!
If you’re looking for community maintenance from ELS, call 602-243-1106 or visit elslandscapeaz.com.
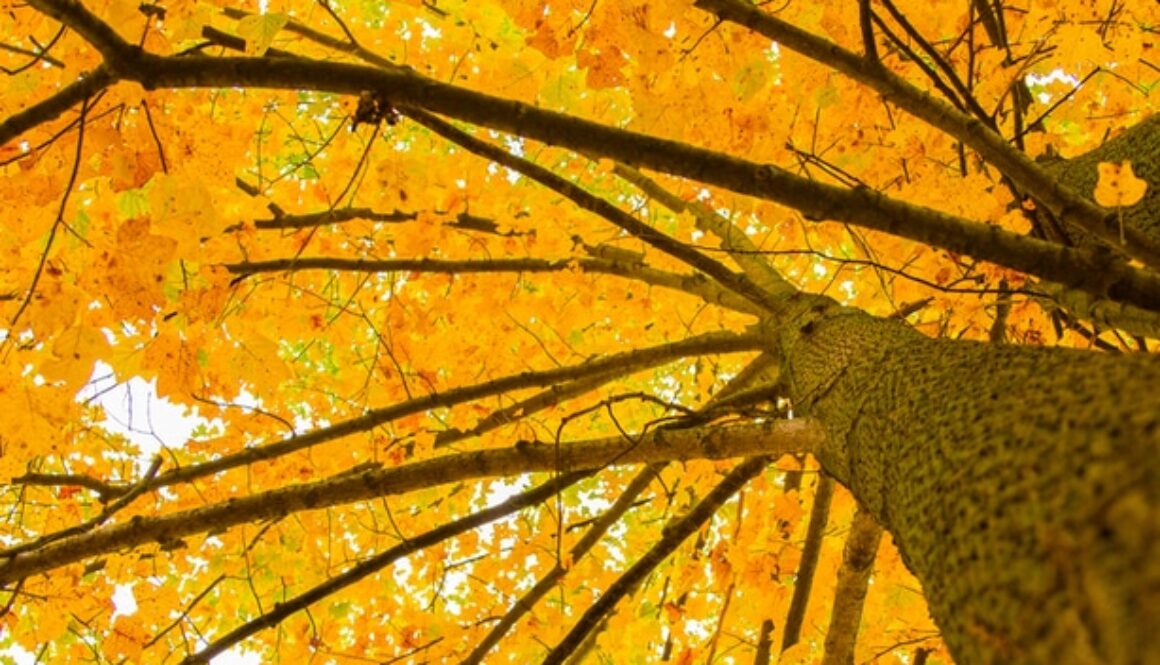
By Northeastern U.S. standards, fall tree color comes to Arizona late in the season. Here in the Sonoran Desert, we might see our deciduous trees change to the iconic reds, oranges and yellows of autumn between October and sometimes January. Think of it this way—Arizonans get to enjoy an even longer leaf peeping season.
The Science Behind the Colors
Getting a little scientific for a moment, leaves change color on deciduous trees, trees that shed their leaves in the winter, as opposed to evergreen trees, which tend to keep their leaves on their branches throughout the year. In the warm months, trees are busy producing food to grow. That process is called photosynthesis and produces chlorophyll, which creates the green color in leaves. When seasonal temperatures cool and the amount of daylight shortens, most trees slow down their growth and photosynthesize less. As chlorophyll production declines, other pigments that are always present in leaves gradually dominate over the green. In trees where the leaves turn yellow and orange in the fall, carotenoids are the pigments you see showing through in the leaves. In leaves that turn red to purple in the fall, you see the anthocyanin pigments come through.
Leaf Peeping in Arizona
To leaf peep in Arizona, look along our many waterways and riparian areas. You’ll spot fall color dotting our lower elevation cities, but the most showy fall tree varieties tend to be very large and generally aren’t suitable for urban landscapes. So head for the hills, where you are likely to see a preponderance of native trees that change color in autumn.
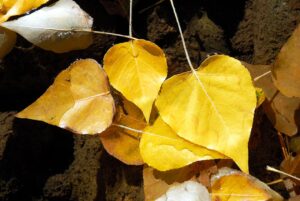
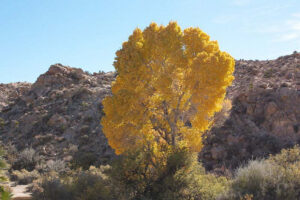
Easy to spot where there’s flowing water, Fremont Cottonwood (Populus fremontii) trees turn a gorgeous yellow in fall. Deep red leaves characterize tall Texas red oak (Quercus texana or Quercus buckleyi), the oak variety that is more common in urban landscapes and at lower elevations, while the shorter Gambel oak (Quercus gambelii) grows at higher elevations and shows in bright yellow and orange. At higher elevations, look along streams for the orange fall leaves of Arizona sycamore (Plantanus racemosa var. wrightii), for gold on quaking aspen (Populus tremuloides) and for light yellow on the Arizona walnut (Juglans rupestris var. major).
Add Showy Trees at Home
Want to add some fall color to your home landscape? This author is partial to the shape and color of the non-native Chinese pistache (Pistacia chinensis) tree, whose red and orange anthocyanins and carotenoids burst through in fall. Another tree for urban landscapes is the Arizona ash (Fraxinus velutina), and cultivar ‘Modesto’ is known for particularly splendid yellows. The boxelder (Acer negundo) ‘Sensation’ cultivar turns light pink in fall. In smaller spaces like patios, Pomegranates (Punica granatum) are excellent choices, with stunning reds and oranges, plus edible fruit in autumn. (Note, however, that dwarf varieties of pomegranate will give you a colorful autumn show but produce inedible fruits.)
This is by no means a comprehensive list of native or desert-adapted plants that change colors in autumn in Arizona, but now you have a little bit of the science behind the transformation in leaf color and a lot of pointers on what to look for on your leaf peeping escapades between now and January.
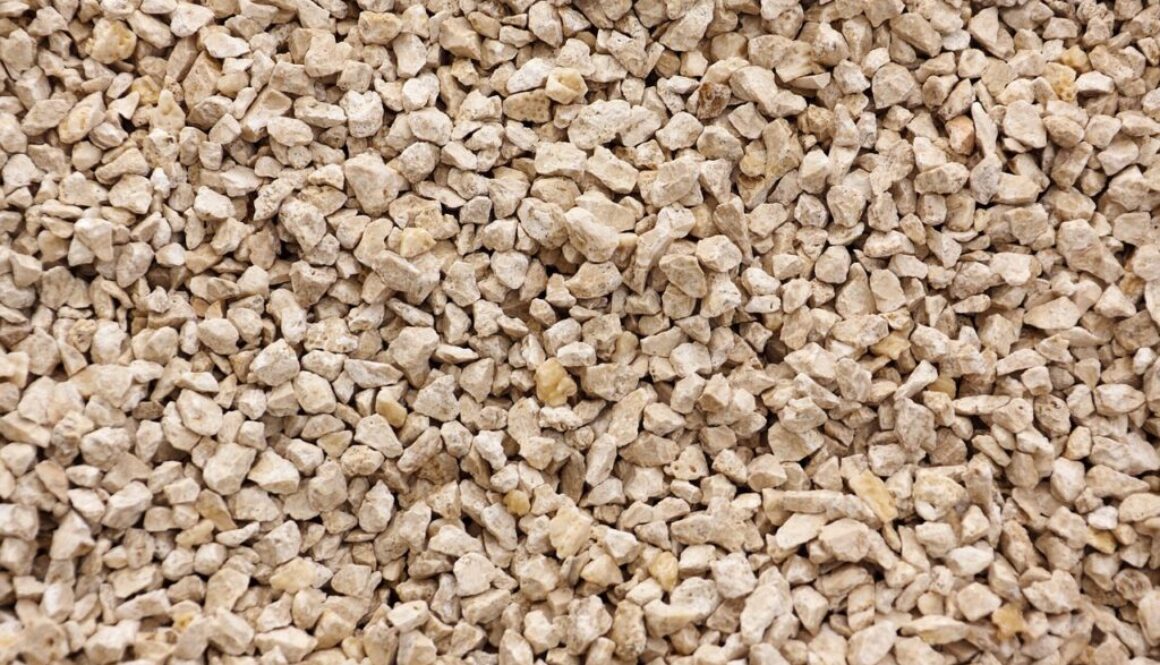
After a summer full of storms that brought heavy rains and even flash flooding, the granite that covers much of Phoenix’s landscapes is likely ready for replenishment.
Why Granite Shifts
Rain isn’t the only factor that can lead to the displacement of landscape granite. Human, vehicle and animal traffic can cause gravel to shift. The ground itself can also rise or sink due to movement of groundwater changes through the seasons.
One of the main benefits of granite topdressing is the fact that it slows down soil erosion by a significant factor. Even if it’s slowed down doesn’t mean that it is permanently stopped, so eventually erosion beneath the granite can lead to some unwanted granite displacement. Put all this together, and your community’s landscape could probably use anywhere from a little bit to quite a bit of granite re-dressing by this time of year.
How ELS Can Help
Adding fresh matching granite is a common practice during the fall and winter that ELS Maintenance & Construction takes care to provide whenever necessary. We’re officially past the monsoon season, and the fall and winter tend to be dry in comparison. That makes now the perfect time of year to get your granite looking as good as it was on Day One.
If you’re looking for help with your community and its granite, email us at [email protected] and we’ll send you a proposal.
Is the neighborhood landscaping still eye-catching? HOAs—and homeowners—can get excellent bang for the buck with landscape investments, which can save on maintenance and repairs in the long-run and can keep homeowners happier about the value they receive from their association dues.
Here are our suggestions for different ways you can invest in your landscape and add value to your home and neighborhood:
Make Simple Design Improvements
Some of the showiest landscape upgrades are the simplest and cheapest.
Add accent lighting, like uplighting a tree, downlighting a path, or shadow lighting an architectural element.
Install a water feature, which can attract nature and also calm road noise.
Refresh an outdated landscape design with topdressing and new plantings.
Invest in Plants
Appealing landscapes have healthy, thoughtfully placed, and properly maintained plant material.
Replace missing trees and plants for an instant boost to visual appeal.
Fix wrong plant, wrong place problems, which may have resulted in lack of vigor, undersized/oversized scale issues, or misshapen forms.
Prune and shape trees to restore their form and enhance their value.
Create plant focal points, a common problem in older or overgrown landscapes.
Deep-root fertilize non-native trees to keep them vigorous and healthy.
Rethink Hardscapes
Hardscape upgrades can make a big difference because they draw the eye, create architectural design elements, and delineate spaces.
Repair uneven curbing or replace missing sections to restore continuity to a landscape area.
Add hardscape elements like low walls to create new planting beds or to divide big spaces into smaller, more defined areas.
Consider where new sidewalk or pathway surfaces may be needed to contain foot traffic and prevent further landscape damage and erosion.
Landscape Investments for Homeowners Associations
A one-year boost to your HOA’s landscape budget, or a one-time allocation of reserve funds, may be all your neighborhood needs to complete a landscape facelift. Replacing missing plants and trees, refreshing decomposed granite topdressing, and revitalizing planting beds are the quickest and most impressive investments in neighborhood home values. Go further by power-washing and painting common area structures, installing landscape lighting, or refacing entrance monuments and marquees.
Have ELS assist with your landscape projects. For a quote, talk to your ELS area manager or complete the online request form.
Overseeding in Arizona, you might hear people talk about throwing down perennial ryegrass seed after scalping. The term ‘throwing seed’ is a terrible misnomer because ryegrass seed thrown by hand would result in far too much randomness for a pretty lawn.
Like in the photo below, you’d have uneven patterns in the new grass. Instead, let’s call the process ‘spreading seed.’ Seed spreading is more art than science because it requires finesse.
Uneven patterns from hand-thrown perennial ryegrass seed.
In this post, we have set out for you here the basic steps in the seed spreading process to give you a few tips of the trade and to explain where the finesse lies for a showy winter lawn.
Let’s begin with what to buy. There are different grades of perennial ryegrass on the market. Buy the best you can afford, because ‘premium’ seed is certified (in writing on the back of the bag) for a guaranteed maximum percentage of weed seeds mixed in. Cheap seed means more weeds.
Next, how much seed to buy is math. Start by estimating the size of your lawn area in square feet. For example, if your lawn is 10 feet wide and 20 feet long, for example, you have 10 x 20 = 200 square feet. If your lawn has rounded edges, pretend they are square corners to make for an easier calculation. Now, round up your final number because it’s better to have seed left over than to run out.
Next, multiply that number by a common ryegrass seed application rate of 8-10 pounds per 1,000 square feet for a typical front or back residential lawn:
200 sq ft x (8 lbs / 1,000 sq ft) = 1,600 / 1,000 = 1.6 pounds of perennial ryegrass seed
Here’s the first bit of finesse. Before you head off to buy 1.6 pounds of seed, know that it’s always a good idea to buy about 10% more seed than you need to fill in any bare spots that don’t germinate well. In this example with 200 square feet to cover, you’d round up your 1.6 pounds an extra 10% and go buy 1.76 pounds (more easily rounded to 1-3/4 or 2 lbs) of perennial ryegrass seed. When you get ready to start spreading, take out the overpurchased 10% (about ¼ of a pound in our example) and reserve it until after you can see how well the new grass plants are filling in. Divide your target 2 pounds of seed into two equal halves.
Here’s the goal: for the most even coverage when we overseed, we want to spread half the seed in one direction (think east-west) and then the other half of the seed in the perpendicular direction (think north-south). That’s why we divide the target amount of seed into two equal halves.
The next step is to calibrate your spreader. This is the second bit of finesse. It doesn’t matter if you are using a hand-held spreader or a walk-behind spreader. And your spreader can be a whirlybird/rotary spreader or a drop spreader. But every spreader has a scale (e.g. 1-10 or 1-20) indicating how open it is. Start with 20%-25% open, like setting 2 on a 1-10 scale or setting 4 on a 1-20 scale.
Remember…we said seed spreading is an art. In this example on a 200 square-foot lawn area, you are walking in the east and west directions to spread half of your 1.76 pounds (half is 0.88 pounds). The finesse here is to watch how fast the seed is leaving the hopper. If it’s spreading too slowly or too quickly, adjust your spreader’s opening. Slower is better because you can make as many passes as you need in the east-west directions to use up all of that first half of your seed. The key is to spread that half of the seed as evenly as possible in that direction over the entire 200 square-foot lawn area until it’s gone. And stay within the boundaries…keep seeds off surrounding rocks and concrete, or they will grow wherever water reaches them.
Now, in this example of seeding 200 square feet of lawn, you spread the second half of your perennial ryegrass seed (the remaining 0.88 pounds) by walking in the perpendicular north and south directions. Keep your spreader at the setting that spread most evenly when you were going east and west. By the time you are finished going north and south, you will have used up the second half (0.88 pounds) of the seed. At this point, you have spread all 1.76 pounds of seed evenly across your entire 200 square-foot lawn area, and you still have in reserve the 10% you overpurchased.
THE ART OF SEED SPREADING TEST: Mark off 1 square inch anywhere in your turf area. Count the seeds laying within that 1 square inch patch of soil. Are there 13-14 seeds? More than 13-14 and your turf will grow in more densely. Fewer than 13 or 14 and your winter lawn will be more sparse. (This seed count assumes you used a typical residential application rate of 8 pounds of perennial ryegrass seed per 1,000 square feet.)
Water in your newly spread perennial ryegrass seed, keeping it moist throughout the day until it germinates and new ryegrass plants grow. Watch the growth patterns carefully and adjust your sprinklers for completely even coverage. Patches where ryegrass doesn’t grow indicates water coverage problems. Fix sprinkler problems to achieve even water coverage, and then spread some (13-4 seeds per square inch is your goal!) of the 10% of the reserve seed you overpurchased to correct coverage problems.
You’re done. Step back to admire your artistry and your lush winter lawn.
After you go to all the trouble of overseeding your Valley lawn with perennial ryegrass, you will want to keep it looking lush and green all winter long. The correct fertilizers are the key. Here’s a quick rundown of the winter turf fertilizer products you will need and why.
Understand the Numbers on the Fertilizer Package
Forget anything that says “all purpose,” because all fertilizers are not alike. A winter lawn needs certain nutrients. First, it will help you to know that commercial fertilizers show a ratio of three numbers, like 15-15-15. Referred to as “NPK”, the ratio describes the product formulation in nitrogen (N), potassium (P) and phosphorous (K). So, a 15-15-15 fertilizer formulation means 15 parts nitrogen to 15 parts potassium to 15 parts phosphorous for any given quantity of the product. Some fertilizers have other additives, which is important to know for your winter lawn.
The First Fertilizer Formulation for Germination
To help the ryegrass seedlings develop root structures, they need extra phosphorous. Ammonium phosphate is a good choice, with a high phosphate ratio of 16-20-0. 6-20-20 and 16-20-20 are also good choices. Follow the package directions for application rate by square footage. Apply this first formulation of fertilizer when you begin watering your newly laid seed, and again two weeks after seedling emergence, which should be about one month after laying down your seed. Always water your turf well after fertilizing.
The Second Fertilizer Formulation Until Spring Temperatures Rise
After you apply the first phosphorous-rich fertilizer, use a more nitrogen-heavy fertilizer formulation every month thereafter until spring. Formulations like 34-0-0, 21-7-14 and 22-3-9 are good examples. Perennial ryegrass benefits from a fertilizer with added iron because iron is not as plant-available in cool soil temperatures. If there is the danger of frost and you have the option, a foliar fertilizer is preferable to a granular one. Always follow the manufacturer’s instructions and be sure to water the fertilizer in well. Be aware that products containing iron stain hardscape materials.
For information about diagnosing and treating your winter lawn for nutritional deficiencies, refer to the Arizona Cooperative Extension Turf Tips article at turf.arizona.edu/tips1195.html.
Why Are Irrigation Repair Costs Always Highest in September and October?
If you’re part of an HOA with grassy parks and other turf areas, you may have wondered why irrigation repair costs are so much higher in September and October than in other months of the year. Well, that’s because those months are overseeding season in Arizona.
Irrigation System Performance is Key to Winter Overseeding
The short answer is that when we overseed heat-loving Bermuda grass with cool-weather perennial ryegrass, we need the irrigation system in tip-top shape to water the new seeds evenly. In preparation, the landscape crews make a lot of adjustments to, repairs to and replacements of rotary and pop-up sprinklers in August and September that hit the HOA payables in September and October.
And here’s the reason for all that prep: if the little ryegrass seeds don’t get wet and stay damp, they won’t germinate to grow.
Rye Grass Seeds Need to Stay Damp to Germinate
If seed germination isn’t a familiar topic, here’s the long answer. The landscape crews begin preparing for the overseeding process in August and September by no longer putting down fertilizer and then cutting back on water to slow Bermudagrass growth. Gradually lowering the mow height on the Bermudagrass throughout September scalps it to expose more of the soil surface where the perennial ryegrass will grow. Then, when nighttime temperatures fall below the magical 65-degree Fahrenheit mark, usually by early October, conditions are perfect to spread the perennial ryegrass seed over the Bermudagrass stubble and restart the irrigation.
Through all these steps, the landscape crews are paying careful attention to the sprinklers. In each turf area, they are making sure the angle, distance and volume of water from each sprinkler adds up to an even distribution of water to that area. Too little water, and some or all the perennial ryegrass seeds won’t germinate. Too much water, and the seeds will drown or wash away. The sprinklers must irrigate evenly so each seed germinates into a ryegrass plant.
Poor Sprinkler Coverage Causes Bare Spots
If part of your turf—like the edges or the center–doesn’t fill in with lush new ryegrass due to poor sprinkler coverage, it not only looks bad, but also it costs your HOA twice for the second application of seed and water to fill in the missing ryegrass. Perpetually wet areas and low spots may require more extensive reconstructive repairs and are probably another blog for another day.
So next time you review your neighborhood’s irrigation repair budget and expenses, you’ll know why the HOA has to budget to spend more on irrigation in September and October than in other months of the year.
The summer Bermudagrass certainly struggled this year. Conditions were such that turf was spotty, lacked its typical green lushness and made a generally poor summer showing. The typical transition from winter perennial ryegrass to summer Bermudagrass in 2022 was not smooth. We saw perennial ryegrass hang on longer than usual and Bermudagrass lack vigor when it finally emerged from dormancy.
Strengthen Bermudagrass By Not Overseeding Every Couple of Years
Whether the turf is the lawn in the back of your home or the community park across the street, it is a best practice not to overseed every couple of years anyway to decrease competition between the winter ryegrass and the summer Bermudagrass. This practice gives the Bermudagrass the chance to fill in weak spots and strengthen when it does not have to compete with the ryegrass for nutrients, water, and sunlight. Skipping overseeding this season, or limiting community overseeding to high-visibility areas like entrances, might be exactly what your Bermudagrass needs.
More Ways to Improve Your Bermudagrass Health Over the Winter
Clearly, another benefit of skipping a year of overseeding is the money and labor you save from seed, water, and fertilizer. Instead, focus your attention on the Bermudagrass by redirecting your spending to improve the evenness of your irrigation coverage, apply soil conditioner to improve the health of next summer’s grass, or treat turf areas for winter weeds. For example, winter is the time to treat Poa annua, a common winter weed that can’t otherwise be treated without killing the perennial ryegrass.
Suggestions for Other Landscape Projects with Your Savings
Putting your overseeding funds toward other landscape uses in your personal yard or for the neighborhood, you could replace missing plants, deep-root fertilize non-native trees, prune and thin trees, or tackle landscape improvement projects like hardscape repairs. No matter what you choose, feel confident about sitting out this overseeding season to improve the health of your Bermudagrass next year.
Citrus trees have strong wood that requires minimal pruning. A healthy tree can bear the load of heavy fruit. A common misperception is that a heavily pruned citrus tree will result in new growth and improved fruit quality. In fact, the opposite is true; minimally pruned citrus trees can produce fruit that is of better quality than heavily pruned trees.
Spring is Citrus Pruning Season
If your citrus tree requires pruning, the best months in Arizona are February to April. Best is after the danger of frost has passed but before the tree flowers. Pruning between April and October can expose the tree to sunburn damage, and November to February exposes the tree to potential frost damage.
Regular Maintenance with Minimal Pruning
Citrus trees produce the least fruit in areas of the tree canopy that are most shaded. Thus, your citrus tree may only need to be pruned in the spring to thin out those deeply shaded sections inside the tree canopy, opening them up to sunlight for fruit production.
Year-round maintenance of citrus trees involves regularly snipping off suckers and removing branches that are weak, diseased or dead. As with other trees, a limb that crosses another should also be removed to prevent damage to and consequent disease in the other limbs it touches.
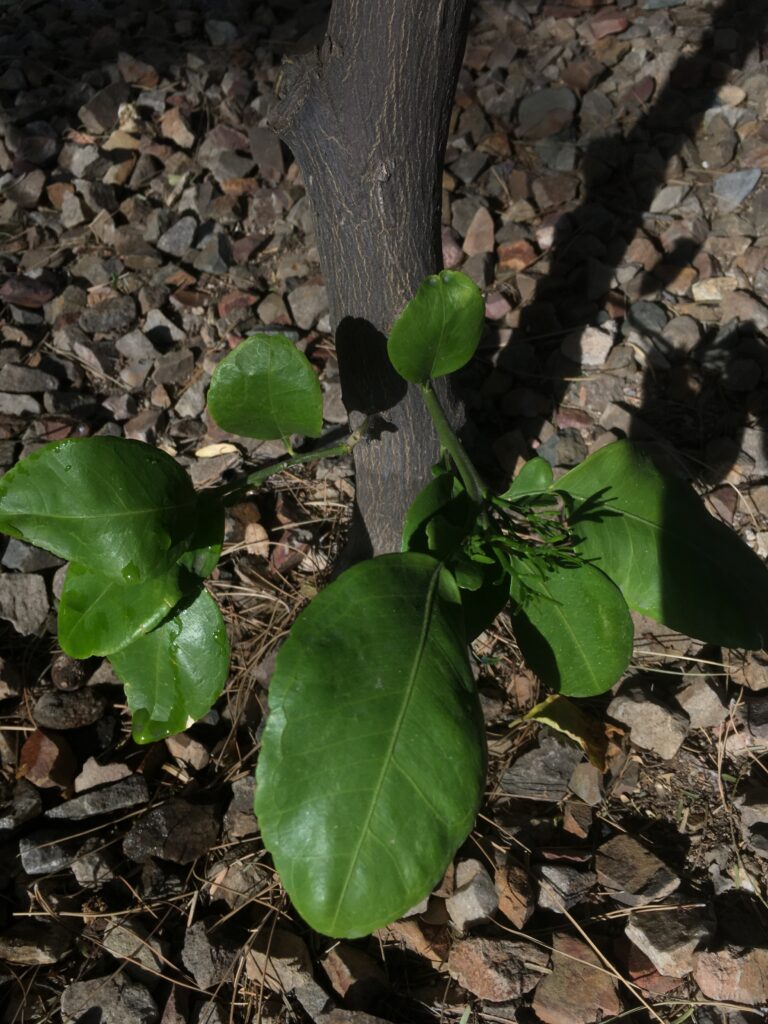
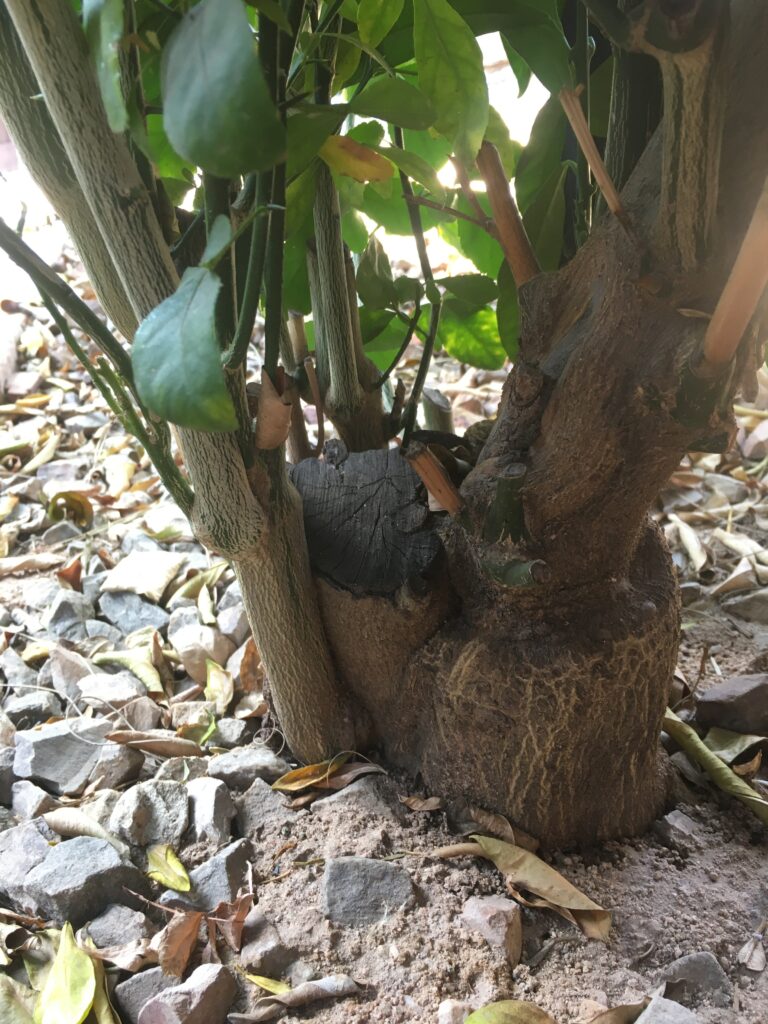
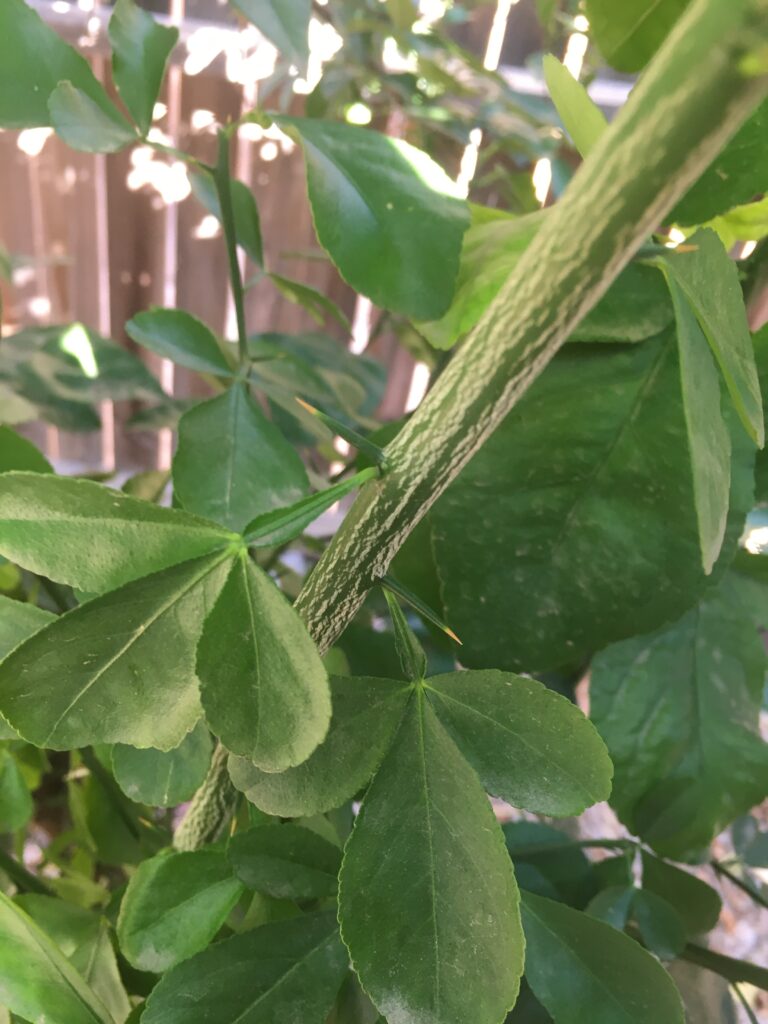
Citrus trees, like roses, are most often grafted varieties onto a base rootstock. Shoots growing up around the base of the trunk or in nearby soil are rootstock suckers that should be removed. They are characteristically thorny and will not produce the desired citrus variety.
Thorny, unproductive varietal branches higher up in the tree can also be removed as part of regular maintenance.
Protect Cuts with Paint
Especially for large cuts, protect the exposed citrus wood by painting it with a 50%/50% mix of latex paint and water. Never use an oil-based paint on citrus.
Want to know more about how you can maintain the investment in your landscape and improve its value? Call us at (602)-243-1106 or fill out a request a bid form by clicking here.
Overseed season is right around the corner and that means it is time to prepare your turf for what is to come! In Arizona, the best time to overseed turf is in October, when temperatures are consistently below 65 degrees.
Overseeding is a process with multiple steps and it is important to follow each step methodically in order to achieve the best results! The first steps of this process should begin in early September, prior to scalp and overseed. These small adjustments will hopefully begin to slow the growth of the turf, dry the areas out, and make it easier to transition the Bermuda into dormancy. You will begin to notice the change in color and quality of the Bermuda.
Lowering Mow Height
Lowering the mow height on your turf is an important step towards the overseed process. Keep in mind that when you begin to lower the mow height it is a good idea to also stop fertilization, ensuring that the Summer turf you are trying to deplete does not continue to grow. By lowering the grass height of active Bermuda, you are also removing old dead grass and thatch buildup. It is important to remember that the initial lowering of the mow height is not the scalping event. Rather, it is a practice you can do to actively help for when actual scalping begins.
Reducing Water
Decreasing water to existing Bermuda grass before Rye seed is to be distributed is a great idea. This helps decrease competition between the two grass types and helps in efforts to start to diminish the existing Bermuda, making way for its Winter counterpart. This can be done by reducing water by about 30% in the week prior to scalping and then stopping all water distribution about 1-3 days before.
By taking these actions now, prior to scalping efforts are to be made, you will be setting yourself up for success in overseeding. It is important to remember that during this process, turf may look different or spotty as Bermuda begins to die off. Scalping, the next step in the process, will affect the look of the lawn even more but is necessary to make way for the new rye seed to be distributed. Be sure to be patient with the process and take all meansure necessary to prepare for a beautiful Winter lawn.